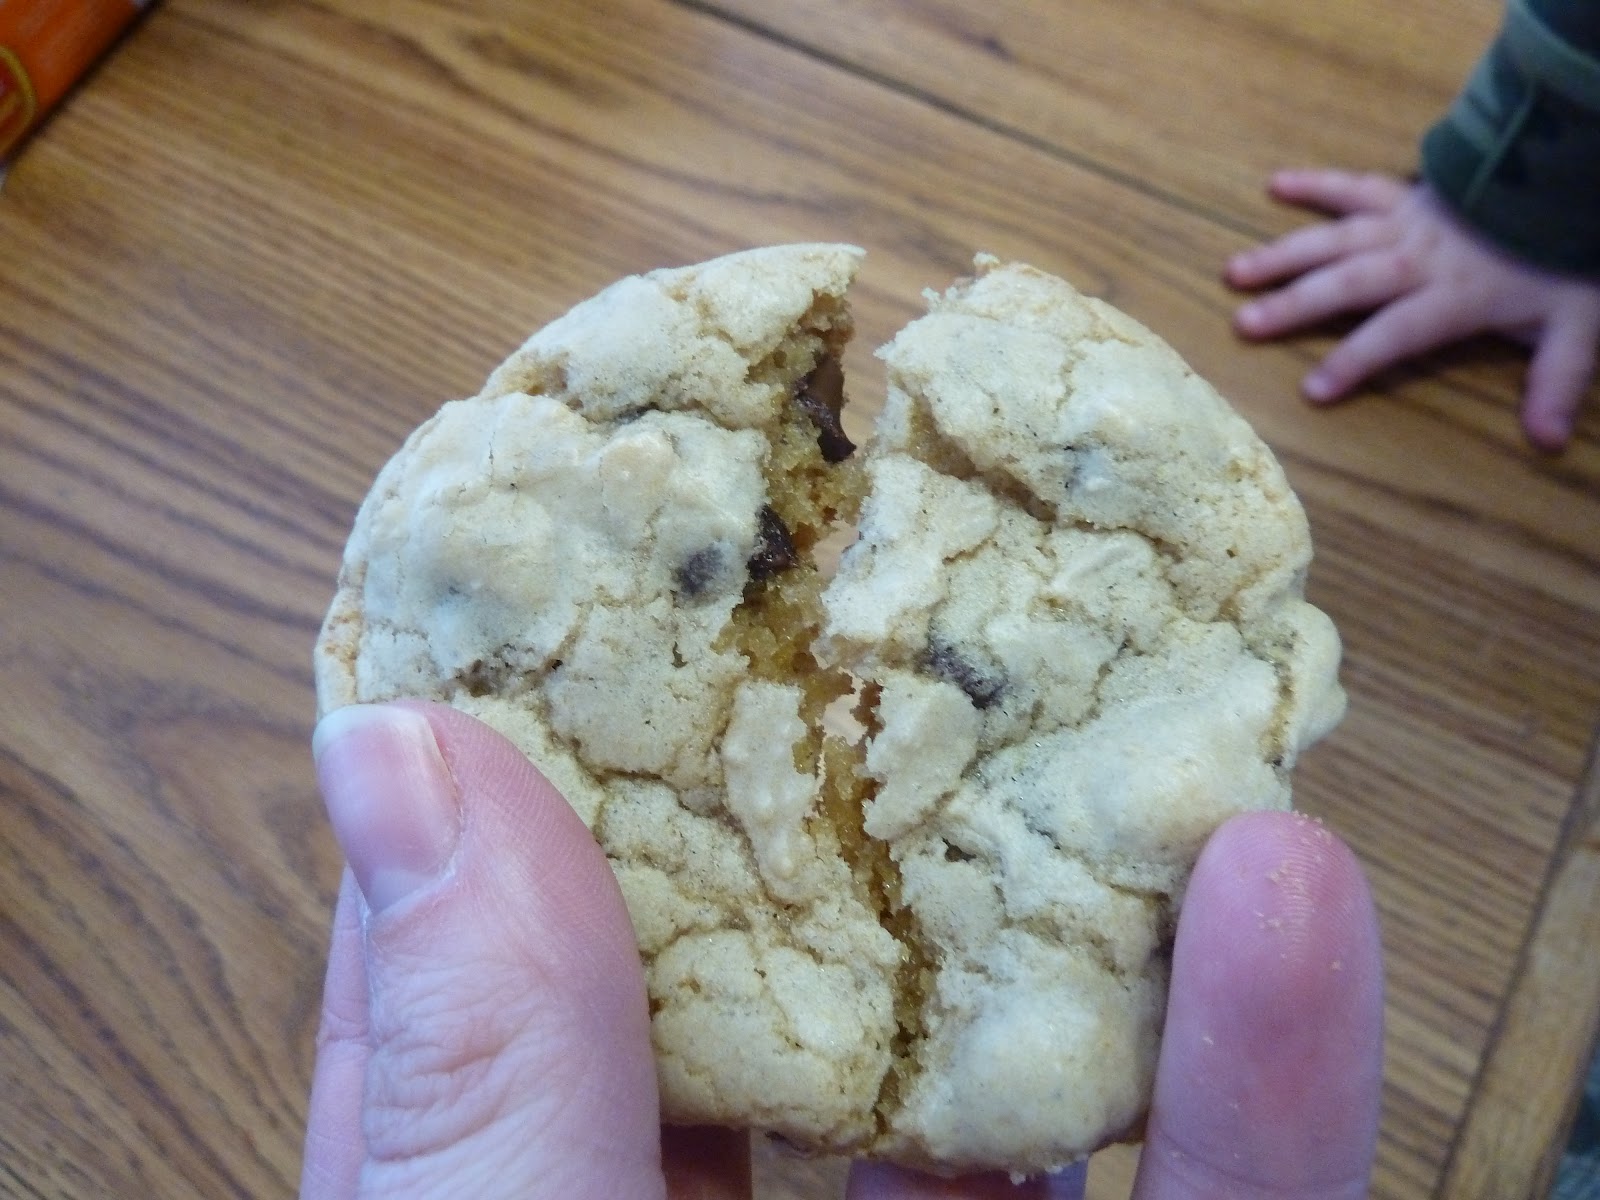
I love chocolate chip cookies, but always find that I'm disappointed after the cookies were baked because I realized that I liked the dough better! I'm not sure exactly why the taste changes. I think the recipes on the back of the bag of chocolate chips are decent recipes if you're going to eat all the cookies fresh. But if you wait a day or two they are too hard, stale, and really just aren't as good as you hoped. So I searched and searched for a good, chewy but not crumbly soft cookie, and about a year or two ago I found it! I think what makes these cookies so deliciously chewy is that it uses more brown sugar than white, a whole tablespoon of vanilla, and one egg plus an additional egg yolk. If you don't know how to separate an egg white from an egg yolk to get that second yolk, I've done the searching for you and found a helpful and detailed YouTube video
here. So behold, my "Better than the Dough" Chocolate Chip Cookies!
(note: I'm a normal person. I don't have a beautiful kitchen, or matching mixing bowls, or even an electric mixer. I have thrift store mixing bowls, laminate counters, and just normal silverware spoons. So, no special gear needed as long as you can get the job done! Also, I don't have a photographer's camera that takes gorgeous pictures of food, just a normal point and shoot. So give me some slack on my equipment, and focus on the cookies - they're worth it!)
"Better than the Dough" Chocolate Chip Cookies
2 cups flour
1/2 tsp baking soda
1/2 tsp salt
3/4 cup melted butter
1 cup brown sugar, packed
1/2 cup white sugar
1 Tbsp vanilla extract
1 egg
1egg yolk
2 cups chocolate chips
Preheat oven to 325 degrees F.
Mix together in medium bowl flour, baking soda, and salt.
In second, larger bowl mix melted butter with brown and white sugar. Mix well. Add vanilla, egg, and egg yolk.
Pour flour mixture into sugar mixture, and mix well.
Fold in chocolate chips!
Then drop by tablespoon full onto ungreased non-stick cookie sheet. Space approximately 2" apart. My sheet holds 12 cookies.
Bake for 15-17 minutes, or until golden brown. For me, 15 minutes is perfect. Remove from oven and let cool on cookie sheet for a couple minutes. Then transfer to wire rack and cool completely (and by completely, you know I mean just so it's not scalding hot because I know you'll dive into these ASAP! Besides, what's yummier than still-warm-from-the-oven cookies??)
Then all that's left to do is enjoy! Store in an air tight container or gallon freezer bag. Personally I store mine in a gallon freeze bag and freeze what's not eaten immediately. They stay SO fresh that way forever. Then when you're ready to eat just take what you want out of the freeze and thaw for 15 minutes, or I also like to nuke mine in the microwave for approximately 15 seconds and then it's like they're warm from the oven all over again. Mmmm...
If you live in a high altitude, don't sweat it and don't bother to change a thing. I live at 6500' and these come out fine without adjusting anything. In fact, I never ever adjust for altitude with anything.
If you try this recipe, let me know! Send me a picture even! I'd be happy to post and am eager to hear what you think. These cookies are currency in my little family, my sister and mother fight over them. So I really hope you like them as much as we do!
(as a side note, if you're on Instagram, follow me! My user is "thisrookiehousewife" - I exclusively use my iphone4 and it takes amazingly good pictures with minimal editing. And pretty much all I take pictures of are my housewifey and SAHM adventures)